 : :
|
|
|
|
|
|
Here before |
|
|
And here after |
|
|
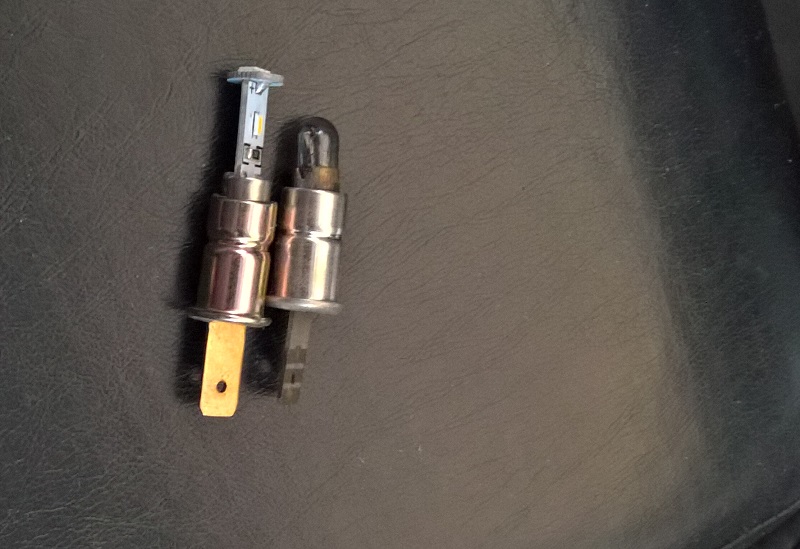
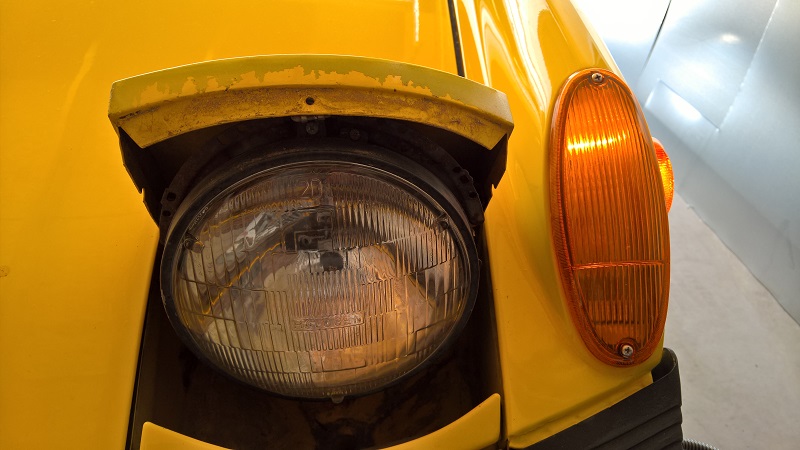
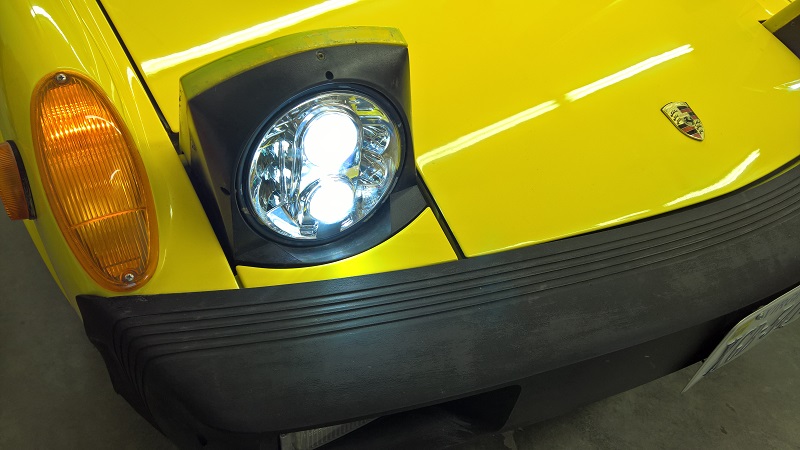
The next is the headlights, I cannot believe that people can still drive in the dark with those sealed beams. |
 |
|
There you go. |
 |
|
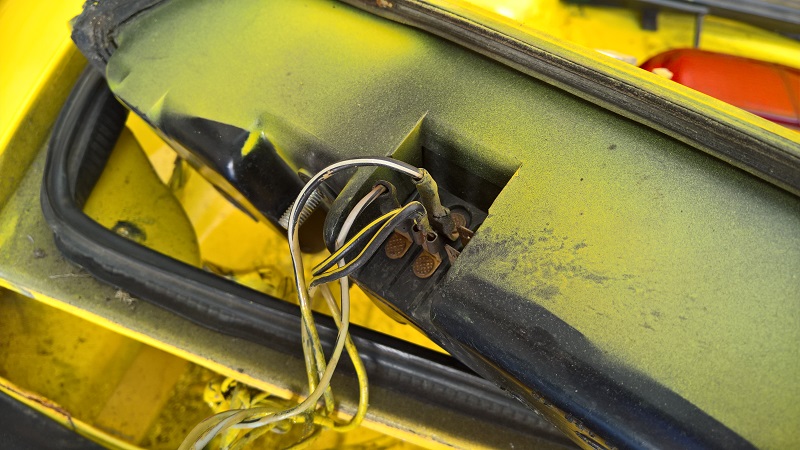
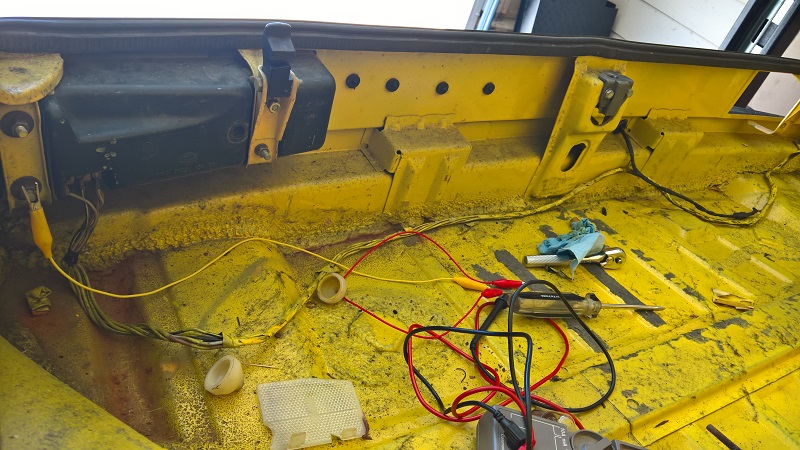
The backup light was not working, and I ended up to install a new wire
from thr backup switch at the tranny to the housing. I didn't want to
dig into the electr. panel at this time.
It it is not possible to hide that the car was painted with everything on it. |
 |
|
Also the cable had not chance to hide or escape from the painter. |
 |
|
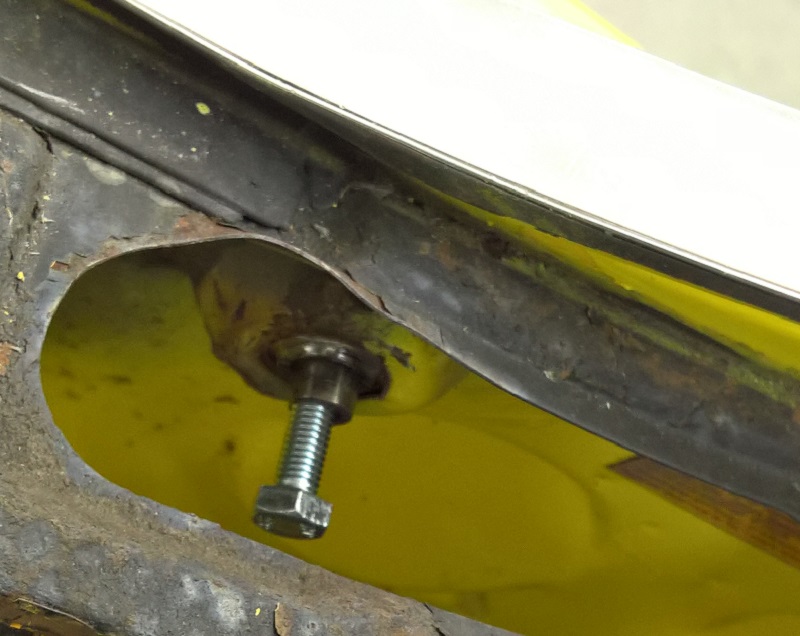
After opening the rear trunk a few times, it didn't looked right on the left hinge.
Here already removed for repair. The sleeve was broken out from the mounting point |
 |
|
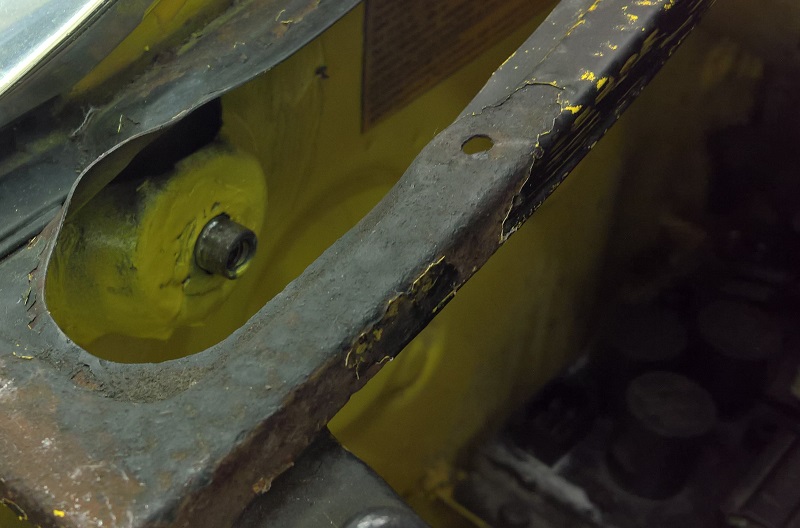
This is how it was installed. |
 |
|
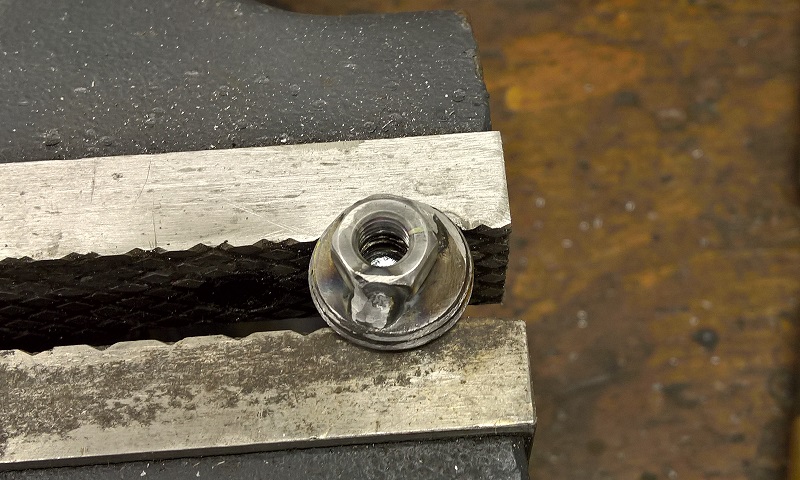
OK, lets fix it. Drilling all the way true, and cut the thread. |
 |
|
I welded on an additional nut from the backside.
|
 |
|
Ready to weld back in. |
 |
|
Done |
 |
|
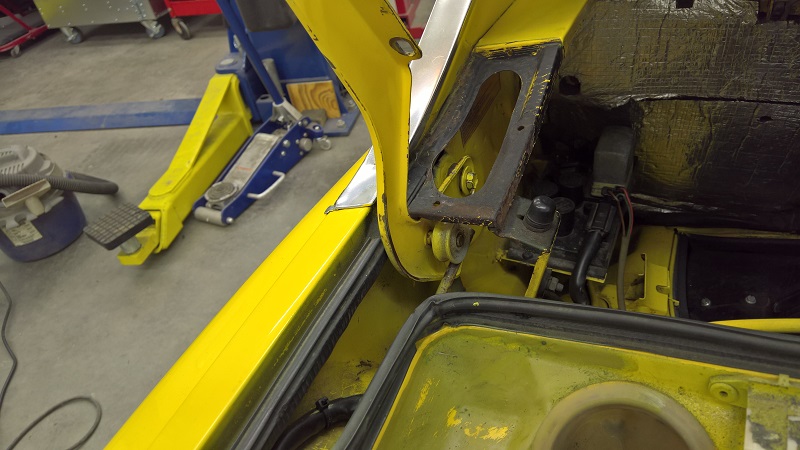
Hinge back in, and ready to install the lid. |
| Next: |
|
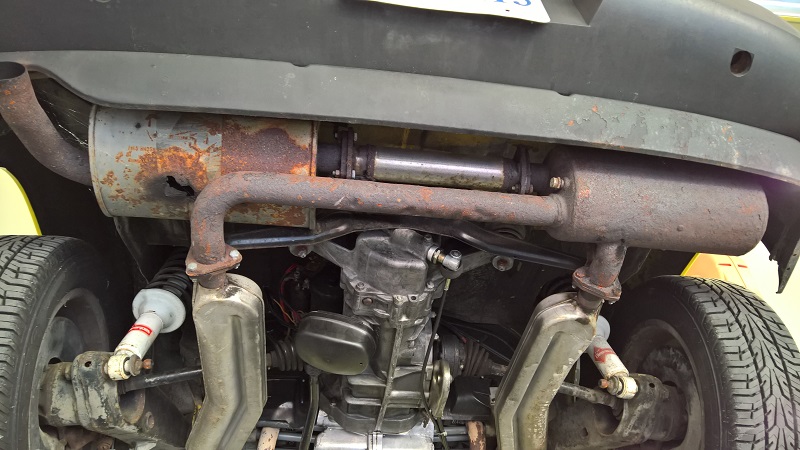
The Exhaust |
 |
|
The muffler had a big hole and did not much to silence the noice |
 |
|
So I took it out and found that the pre muffler is in good shape, just a
lot of surface rust. So I cleaned it up and gave it a coat of hi heat
black paint. |
 | | Instead of the additional muffler, I just installed a pipe, and it still is not that loud. LOL. |
 | | An other thing that needed some attention was the cover plate under the steering rack. |
 | | Here is it removed.
We will get to that later..... |
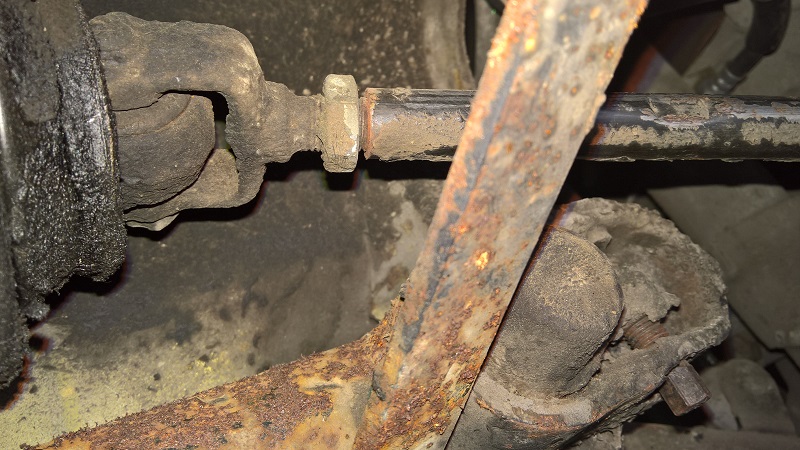 | |
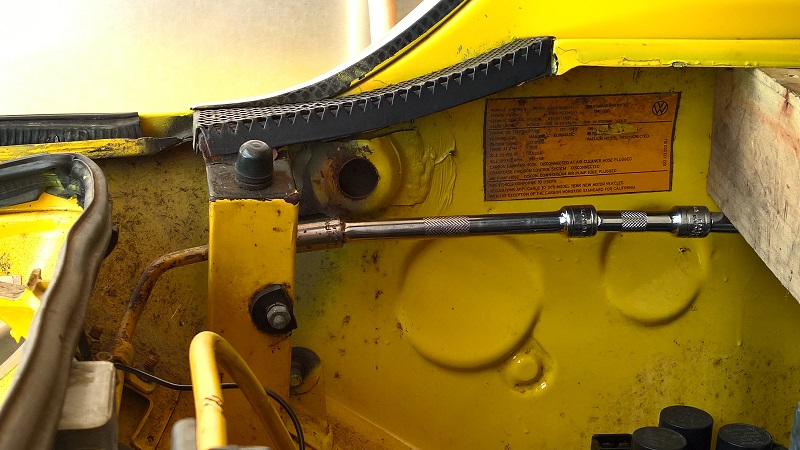
I also found that the inner nut of the tie rod was not tied, which would not go anywhere since the outer one was tied. |
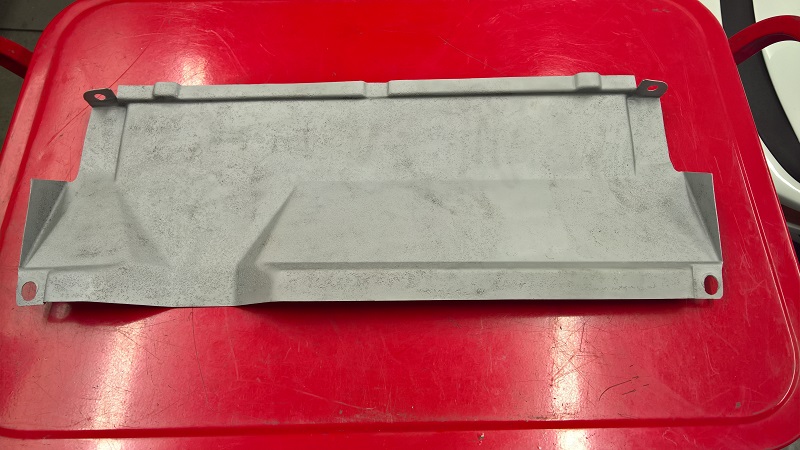 | |
Here is the cover cleaned up. |
 | | Here is the steering rack panel back in. It's funny this was the thing what looked worse, now the rest looks crappy. |
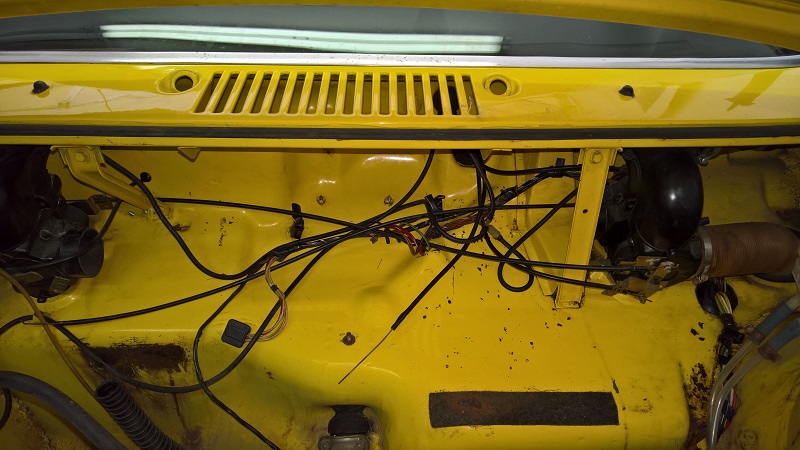
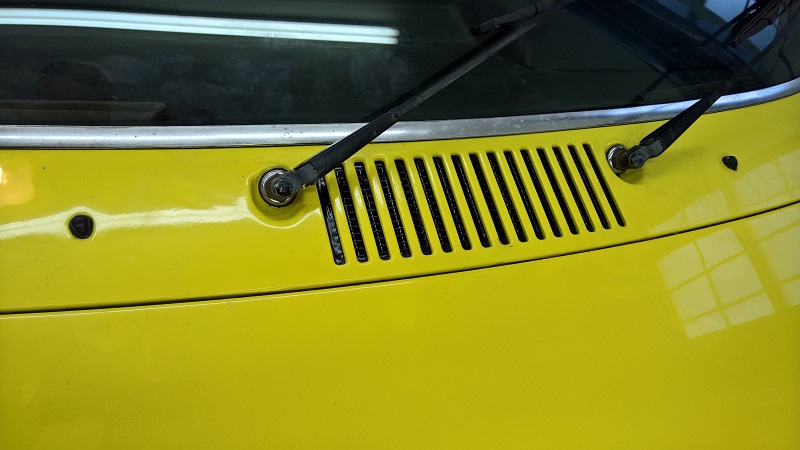
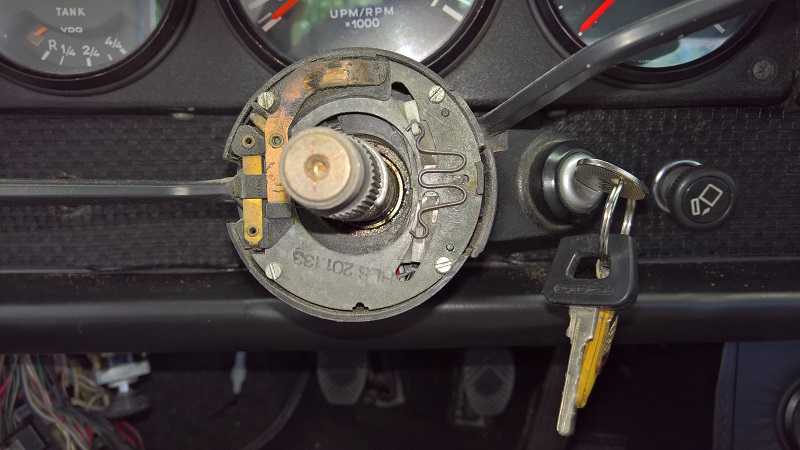 | | Now, there some issues that the windshield wiper would not stop, and if,
it would stop anywhere, but not in parking position. So I started with
the easy part, the switch. |
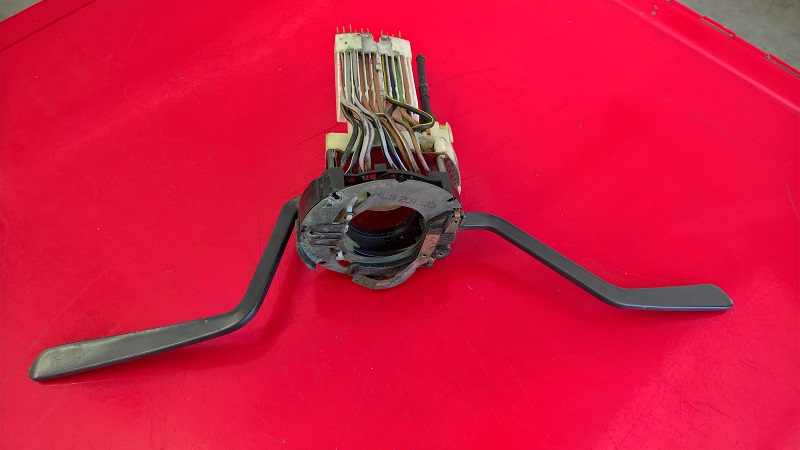 | |
I removed it, and gave it a good cleaning with electronic cleaner and air, and gave it a try. |
 | | Ha, now it was working, but the wiper stopped to park position in the middle of the windshield.
OK the motor seam to work and park, but in the wrong position. To get to
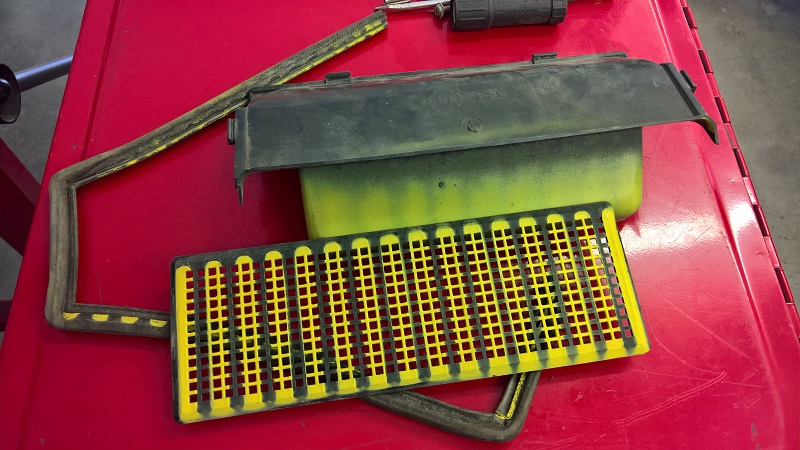
the wimpywipermotor you have to remove the air blower housing. To
remove the air blower housing you have to remove the gas tank.
OK, tank out |
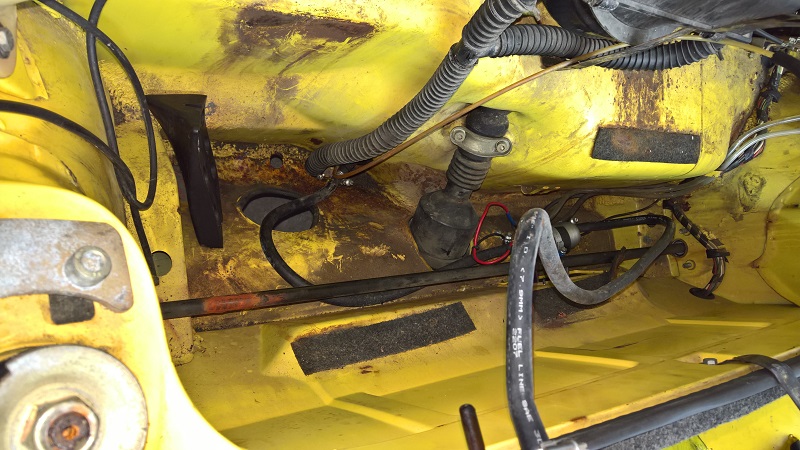
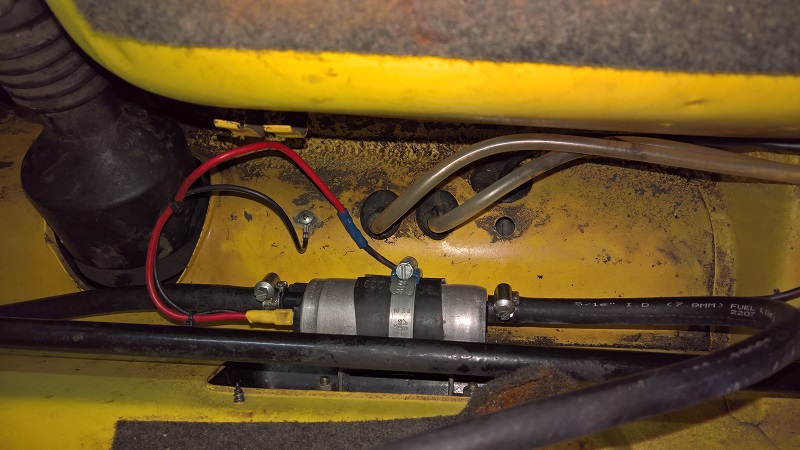
 | | It's always interesting what can be found
The fuel pump was a little to close to the brake fluid supply line for my, almost rubbing. |
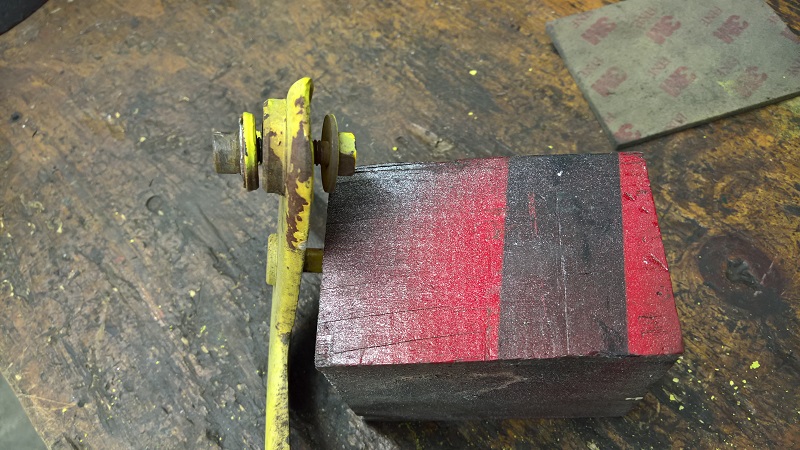
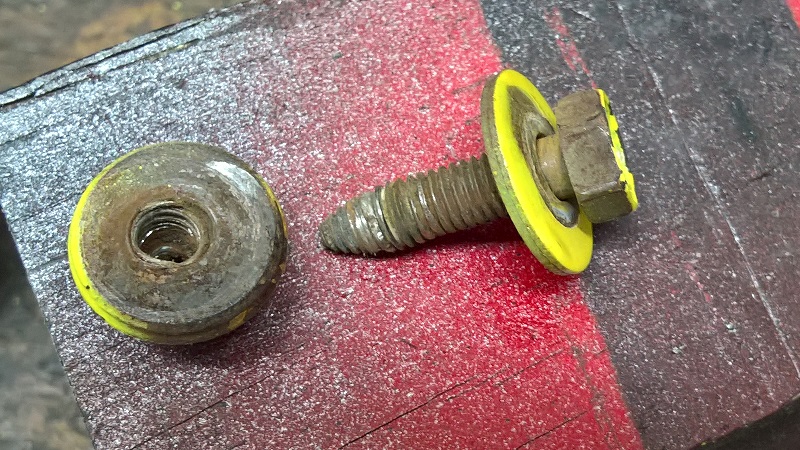
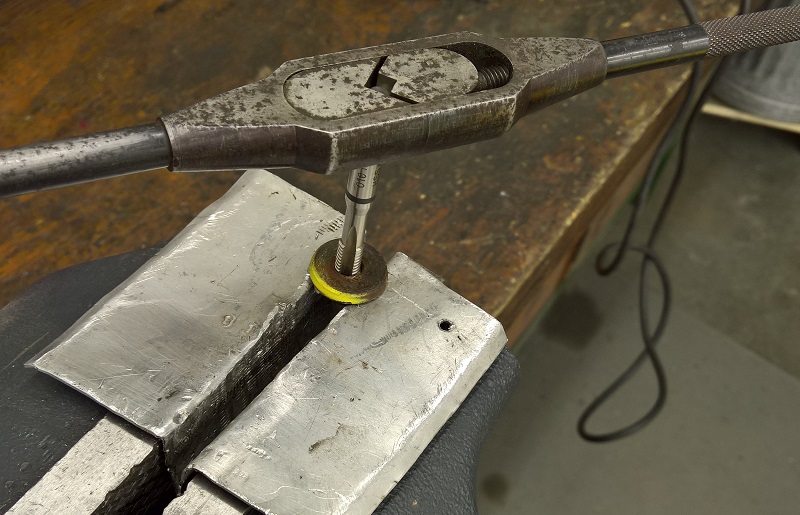
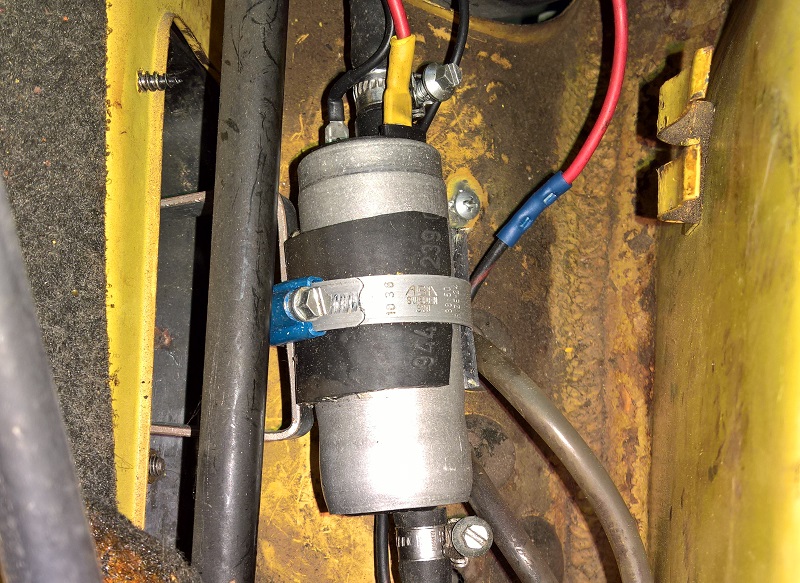
 | | So I removed it and modified the holder
Here before |
 | |
Here after |
 | | Much more betta |
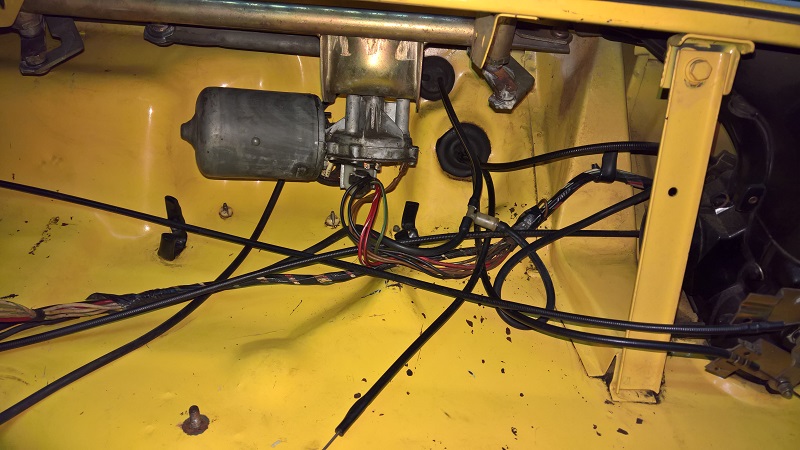
 | | OK, back to the wimpywiper.
Blower out. There was really nothing left without yellow paint. |
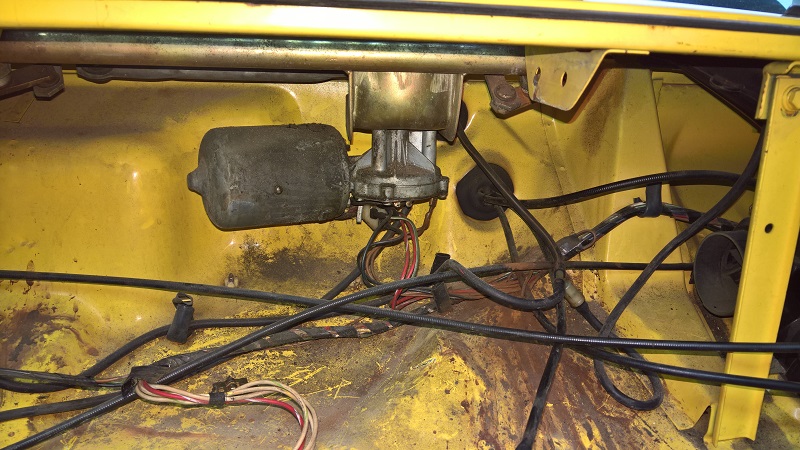 | | OK, finally access the wiper motor |
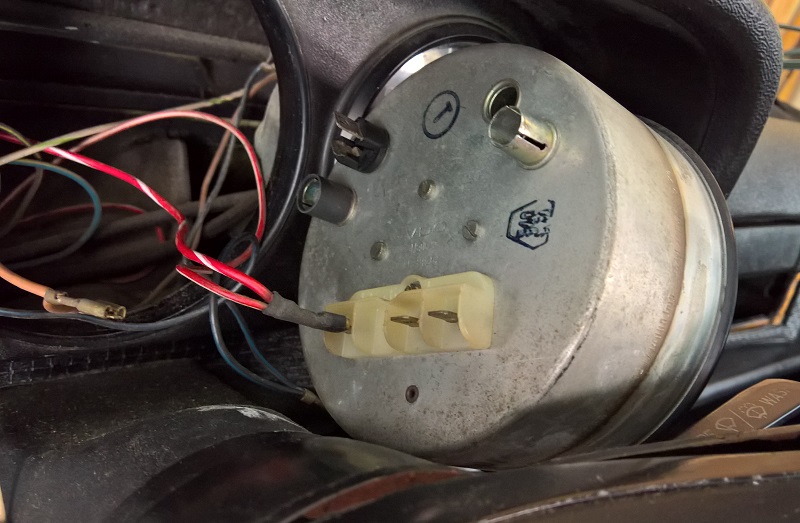
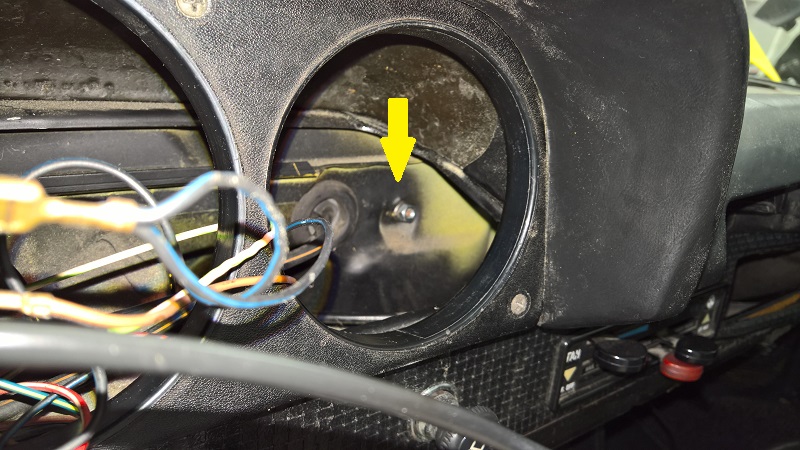 | | There is also a nut from the dash board. The best is tor remove the
speedo to access it, unless you have 1 inch thin arms with 25 joints,
LOL. |
 | |
I took the opportunity to clean out 40 years of collected dirt. |
 | |
After the adjustment of the linkage, so that the wiper stops at the bottom of the driver side, motor goes back in. |
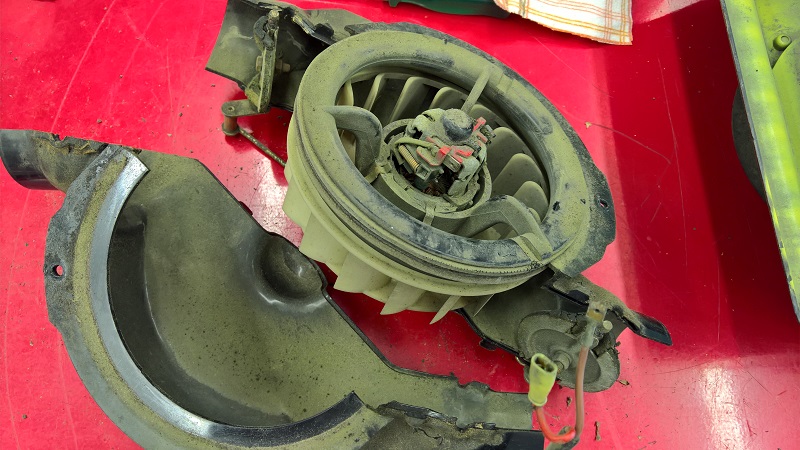 | | Next to clean out the blower
|
 | | The motor looked good, the brushes were still good, and the motor
bearings looked like sealed bearings and should be OK for another 40
year of dust. |
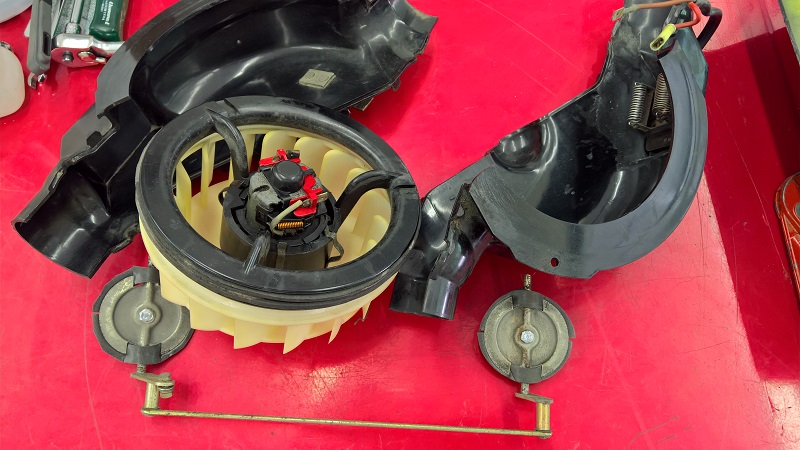
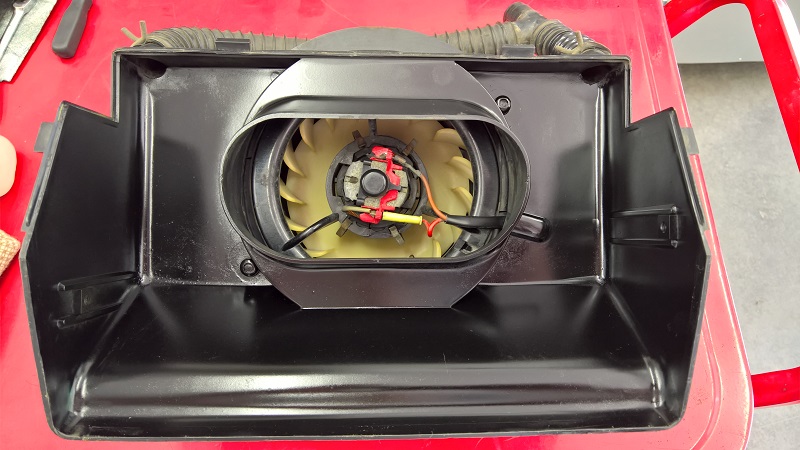 | | Ready to back in. |
 | | I could not get the yellow paint of the grill, and I had to paint it black. Back to Black. |
 | | So now that the wiper works correct, I can go back the LED's for the external marker.
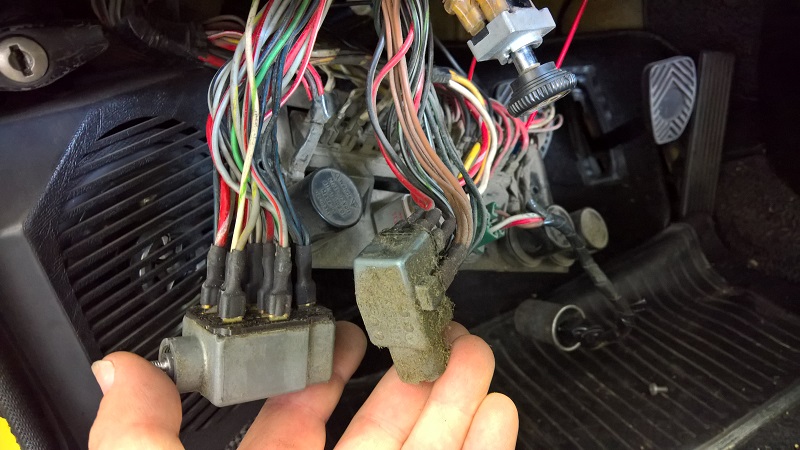
I was wondering why the turning signal does that hyper blinking. When I
pulled out the fuse box to replace the flasher relay.... Tadaaa. The
original relay must have gone bad, and somebody installed a replacement
relay. LOL.
That thing hanging on the 3 wires with electrical tape. |
 | | Since this section was in need of some cleaning, I also pulled the
Light, Hazard, and Fog light switch, to give them a good scrub, with
oileater and electronic cleaner. |
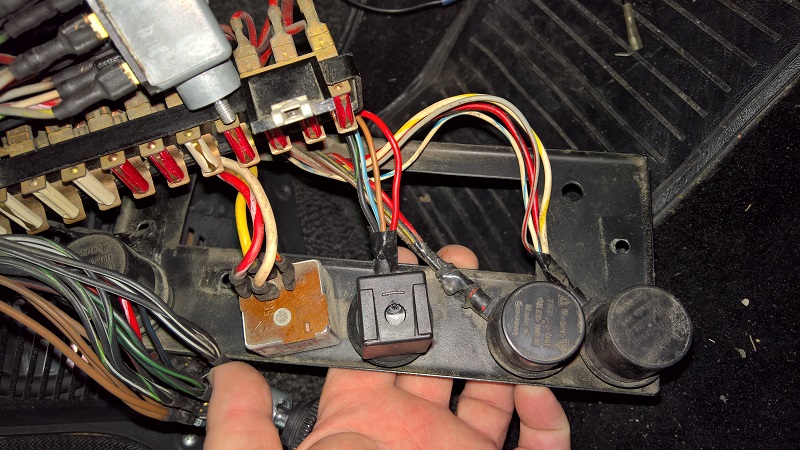 | | Here is the new flasher relay installed , it's # 3 from right. They all look so happy now nice and clean.
The new flasher work correct with the LED's, so all can go back in.
For more info got to Carmagic.us |
 | | The new flasher work correct with the LED's, so all can go back in.
For more info got to Carmagic.us |
| |
|
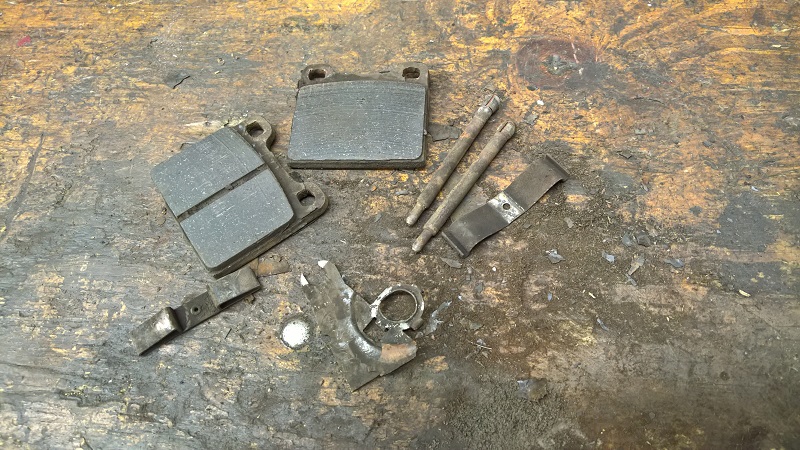 | | Next I checked all the brakes, since I want to go to get the car
inspected. The rear looked all good, but the front brakes needed some
overhauln. That one pad had less than a mm left.
New pads and the caliper rebuild. |
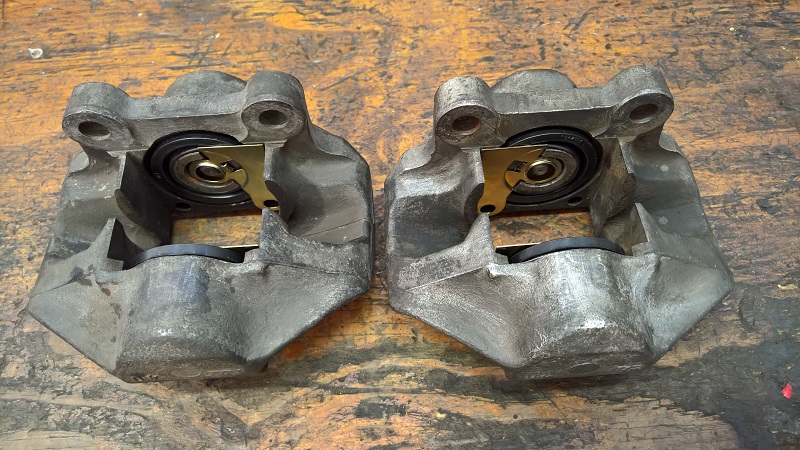 | | Here are they ready to get back on.
|
| |
|
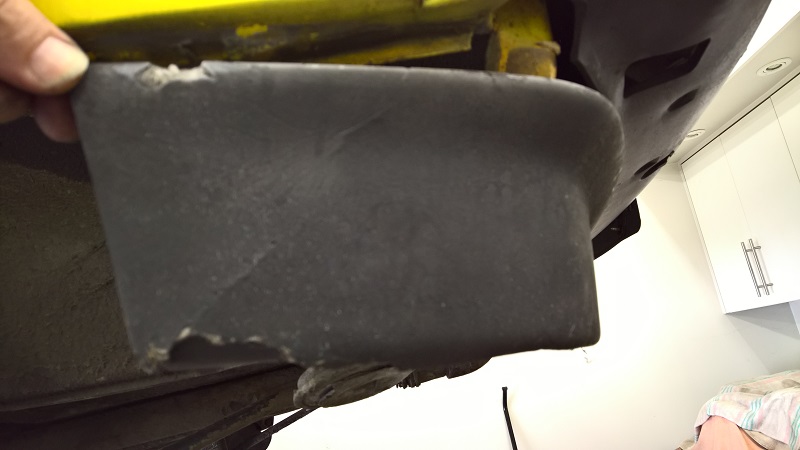 | | Next is the front spoiler, there were some cracks and on the right side it was broken out where it mounts to the fender. |
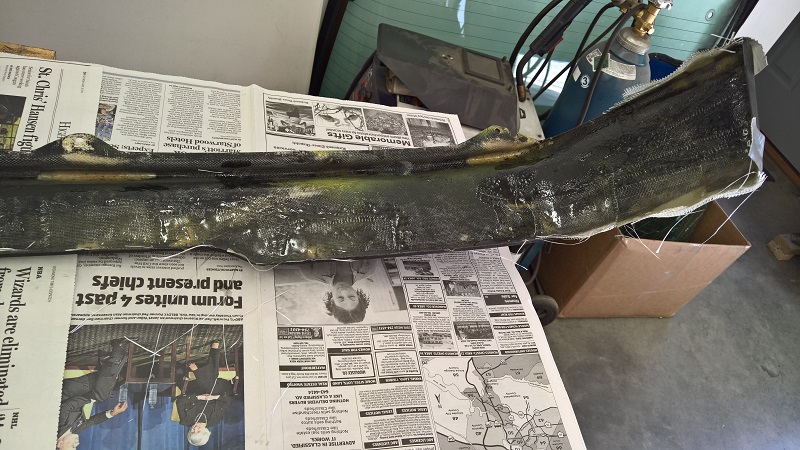 | | I took it off and re-enforced it from the inside. That spoiler is paper thin. |
 | | After that I gave it a quick Rustolium satin black paint job, and put it
back on. Not sure what I going to do with that later, because I plan to
backdate to metal bumpers, not sure yet. |
 | | The car made it true the VA state inspection with no issues. |
| | |
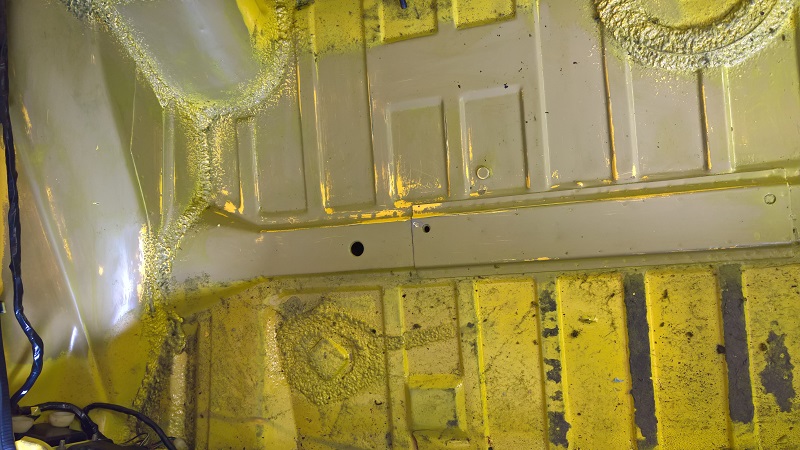 | | When I was working on the Tail lights, I noticed that the yellow paint
in the trunk is sticky and full of dust. The same on the cables for the
tail lights, since they could not hide for the painter. I started to see
if that sticky stuff comes off. I first used some goof off and the
paint came right off. Well, it's still a PITA. I switched then to
acetone, since it solved the paint quicker. Once the yellow comes off,
the primer shows up, which holds up much better than the pain(t).
However, when I keed rubbing the primer also comes off and the original
yellow paint shows.
I will continue one section at the time until all that sticky paint is gone.
Maybe they should have added the hardener before painting, or better,
just left it alone, there was no reason to make such a mess. |
| | |
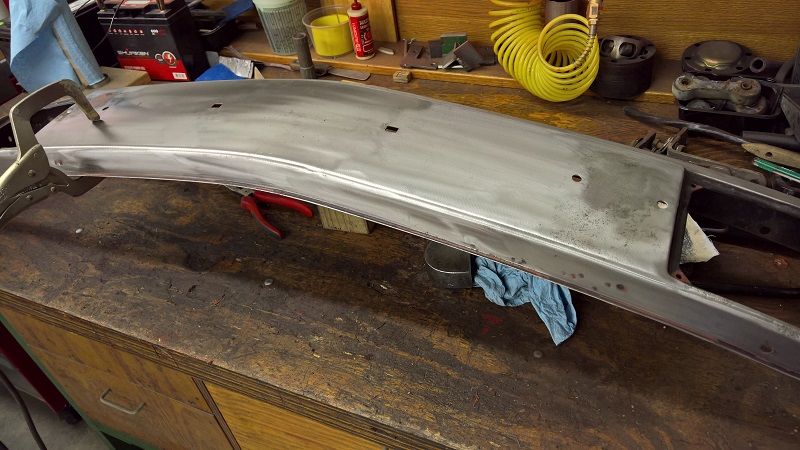
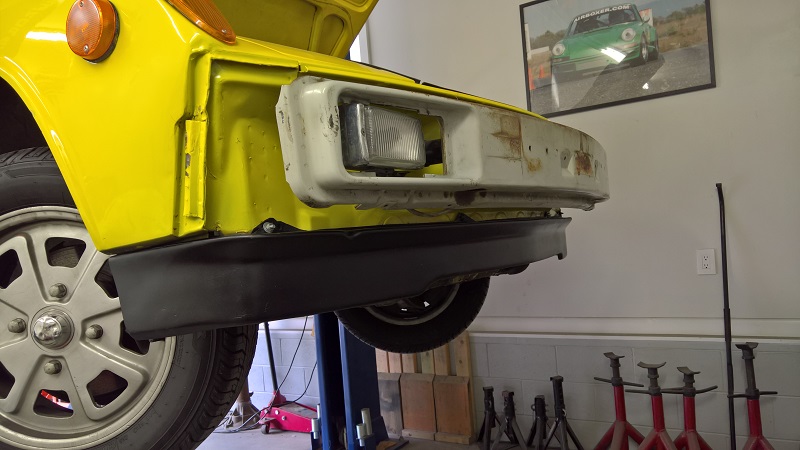
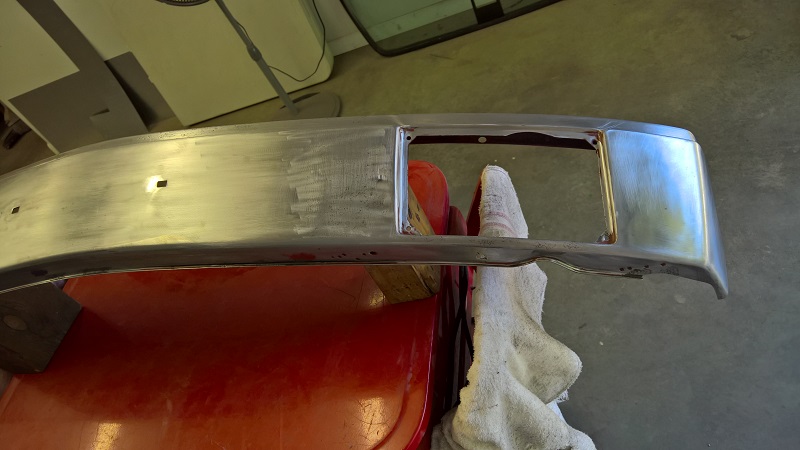 | | So, I found a front and rear metal bumper and the top pieces in good condition. The bumper self were painted and need some work.
Here is the front one where I have closed the hole from the bumperettes.
It also needed a little banging to get it straight at those areas. |
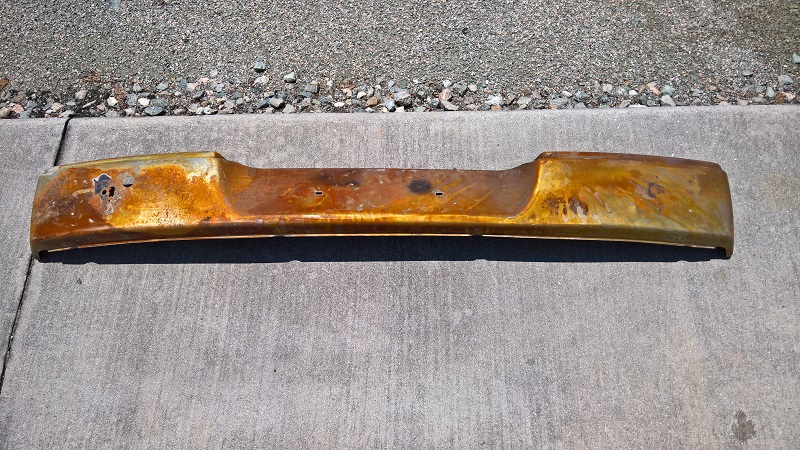 | | The rear bumper showed some rust once I removed the bumperettes (or Stosstangenhoerner in German).
Here is it after stripping the paint off, and I used some acid to get
rid of some rust on the inside. It looks worse than it is, it's only
some flash rust from the acid. |
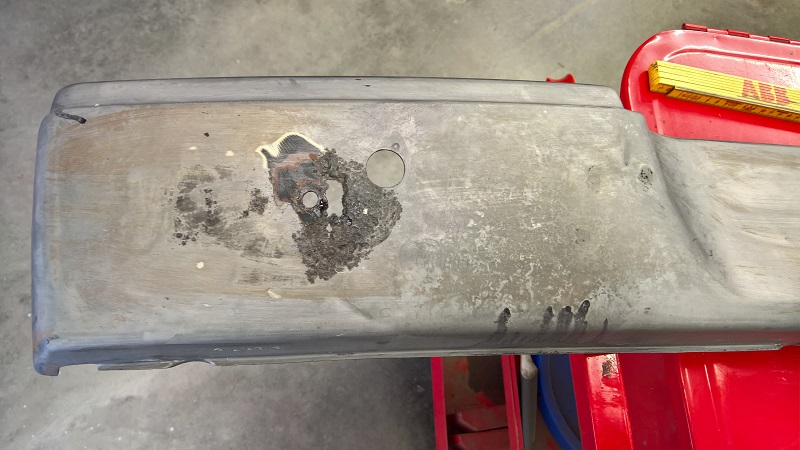 | | Here is the area that need repair |
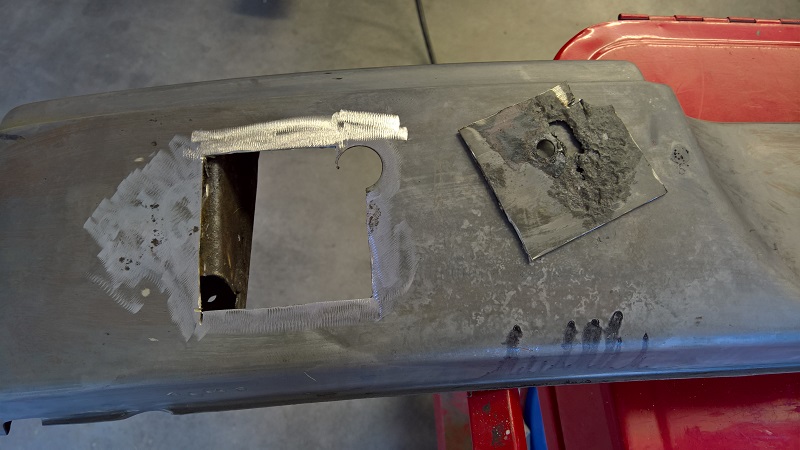 | | Cut out the bad section |
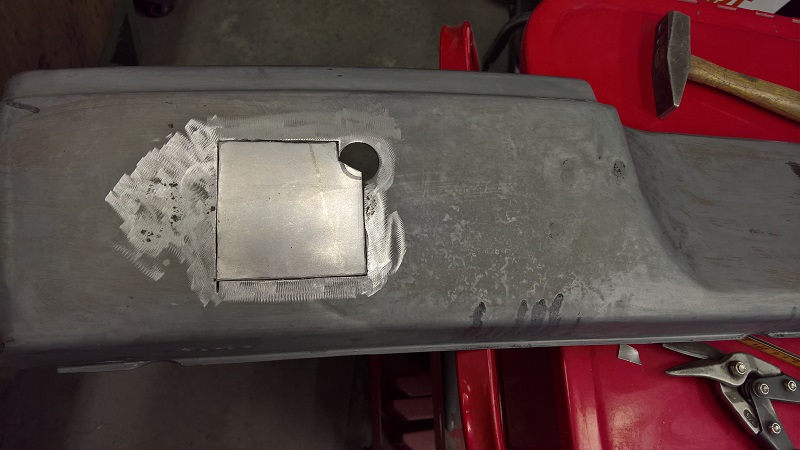 | | Fit the new piece |
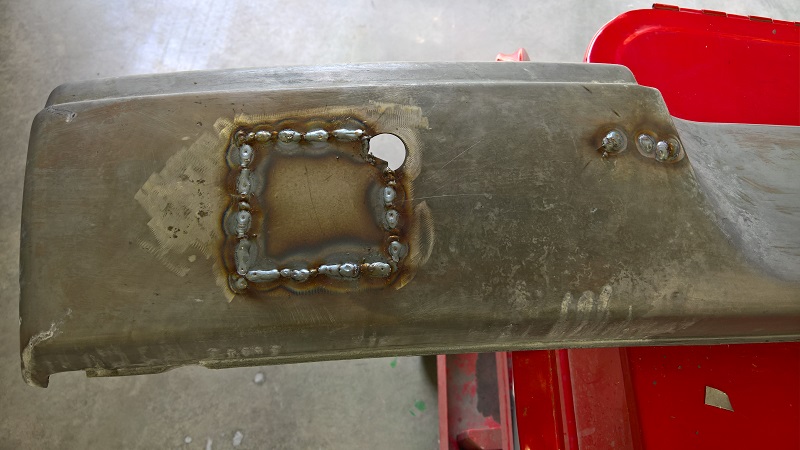 | | Weld it in |
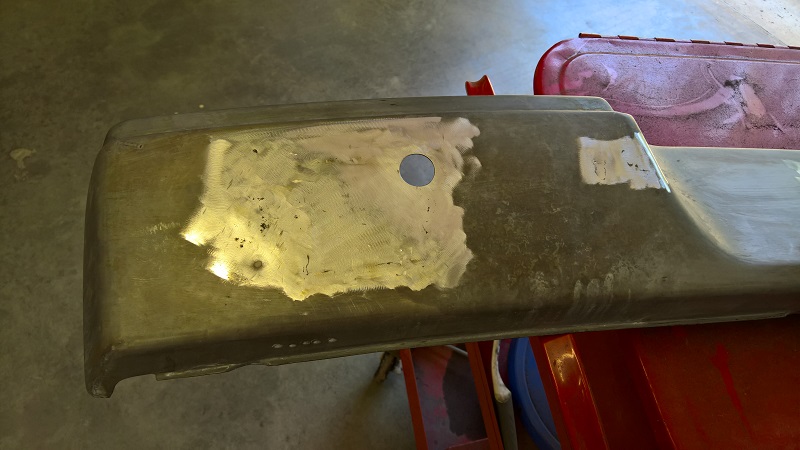 | | Clean up and done |
| | |
| | More to come. |